Debugging a DMR hotspot
Table of contents
Introduction
DMR stands for Digital Mobile Radio and is one of several digital modes available to amateur radio operators. Digital modes use encoding to convert either voice or data to a format that can be transmitted over the air via radio and then received and decoded by another radio.
Digital modes have some benefits over analog modes and, under certain circumstances, can deliver superior quality or even allow communication under very difficult conditions. They are usually more efficient than analog radio and allow multiple channels per frequency.
In addition to all the above, digital modes are also designed to use internet-enabled gateways that allow us to connect two remote gateways via the internet and enable users connected to one gateway to communicate with users connected to the other.
This can be done on a commercial as well as an amateur level.
For amateur networks, we have several digital modes, DMR being one of them. We have several digital mode networks all over the world, with BrandMeister being the biggest one. If you open the BrandMeister website, you will see some statistics. You will see how many network masters exist, how many repeaters, and how many hotspots.
The repeaters connect to the masters, who are responsible for call routing. You can connect directly to a repeater with your DMR radio and participate in the discussion if you are in range.
However, if you are not in range, you can roll your own single-user repeater called a hotspot.
This is a very common use case because a lot of people are not close to a repeater, and having a hotspot allows them to participate in digital mode amateur radio. With the cost of a Raspberry Pi and a HAT, you can make contacts across the world.
These hotspots are the focus of this article. We will cover how they can be configured to access digital mode radio networks and how to debug them if things go wrong.
Getting a Hotspot
Acquiring a hotspot is not complicated. There are several off-the-shelf products that you can buy, and this topic has been covered extensively by several people who have written blog posts or published extensive video tutorials. See here, here, here and here for example.
A DIY-minded person can just purchase a Raspberry Pi and an MMDVM Pi HAT, flash it with one of the specialized distributions that exist — such as WPSD — and hey presto, you have a digital modes hotspot. These hotspots support more digital modes than just DMR, but we will focus on DMR in this article.
A hotspot can connect to many DMR networks simultaneously, and the user can configure the hotspot to use specific prefixes for each network to indicate which one they want to access. In addition to multiple networks of a specific mode, you can have multiple modes enabled with multiple networks for each mode.
If you overdo it, things might become complicated, and it is very easy for a change to mess up the configuration of the hotspot.
In this article, we will explain how we can debug the hotspot service on a Raspberry Pi running WPSD, where to find its logs, and how to identify what is wrong with a particular setup.
What Does WPSD Look Like?
After installation, WPSD will present its user with a dashboard that provides information about how many networks it is connected to, what modes are enabled, and information about which channel it is listening to, along with current traffic for that channel.
Each call is identified by the caller callsign. We can also see some statistics about their call.
We can see that in the following screenshot:
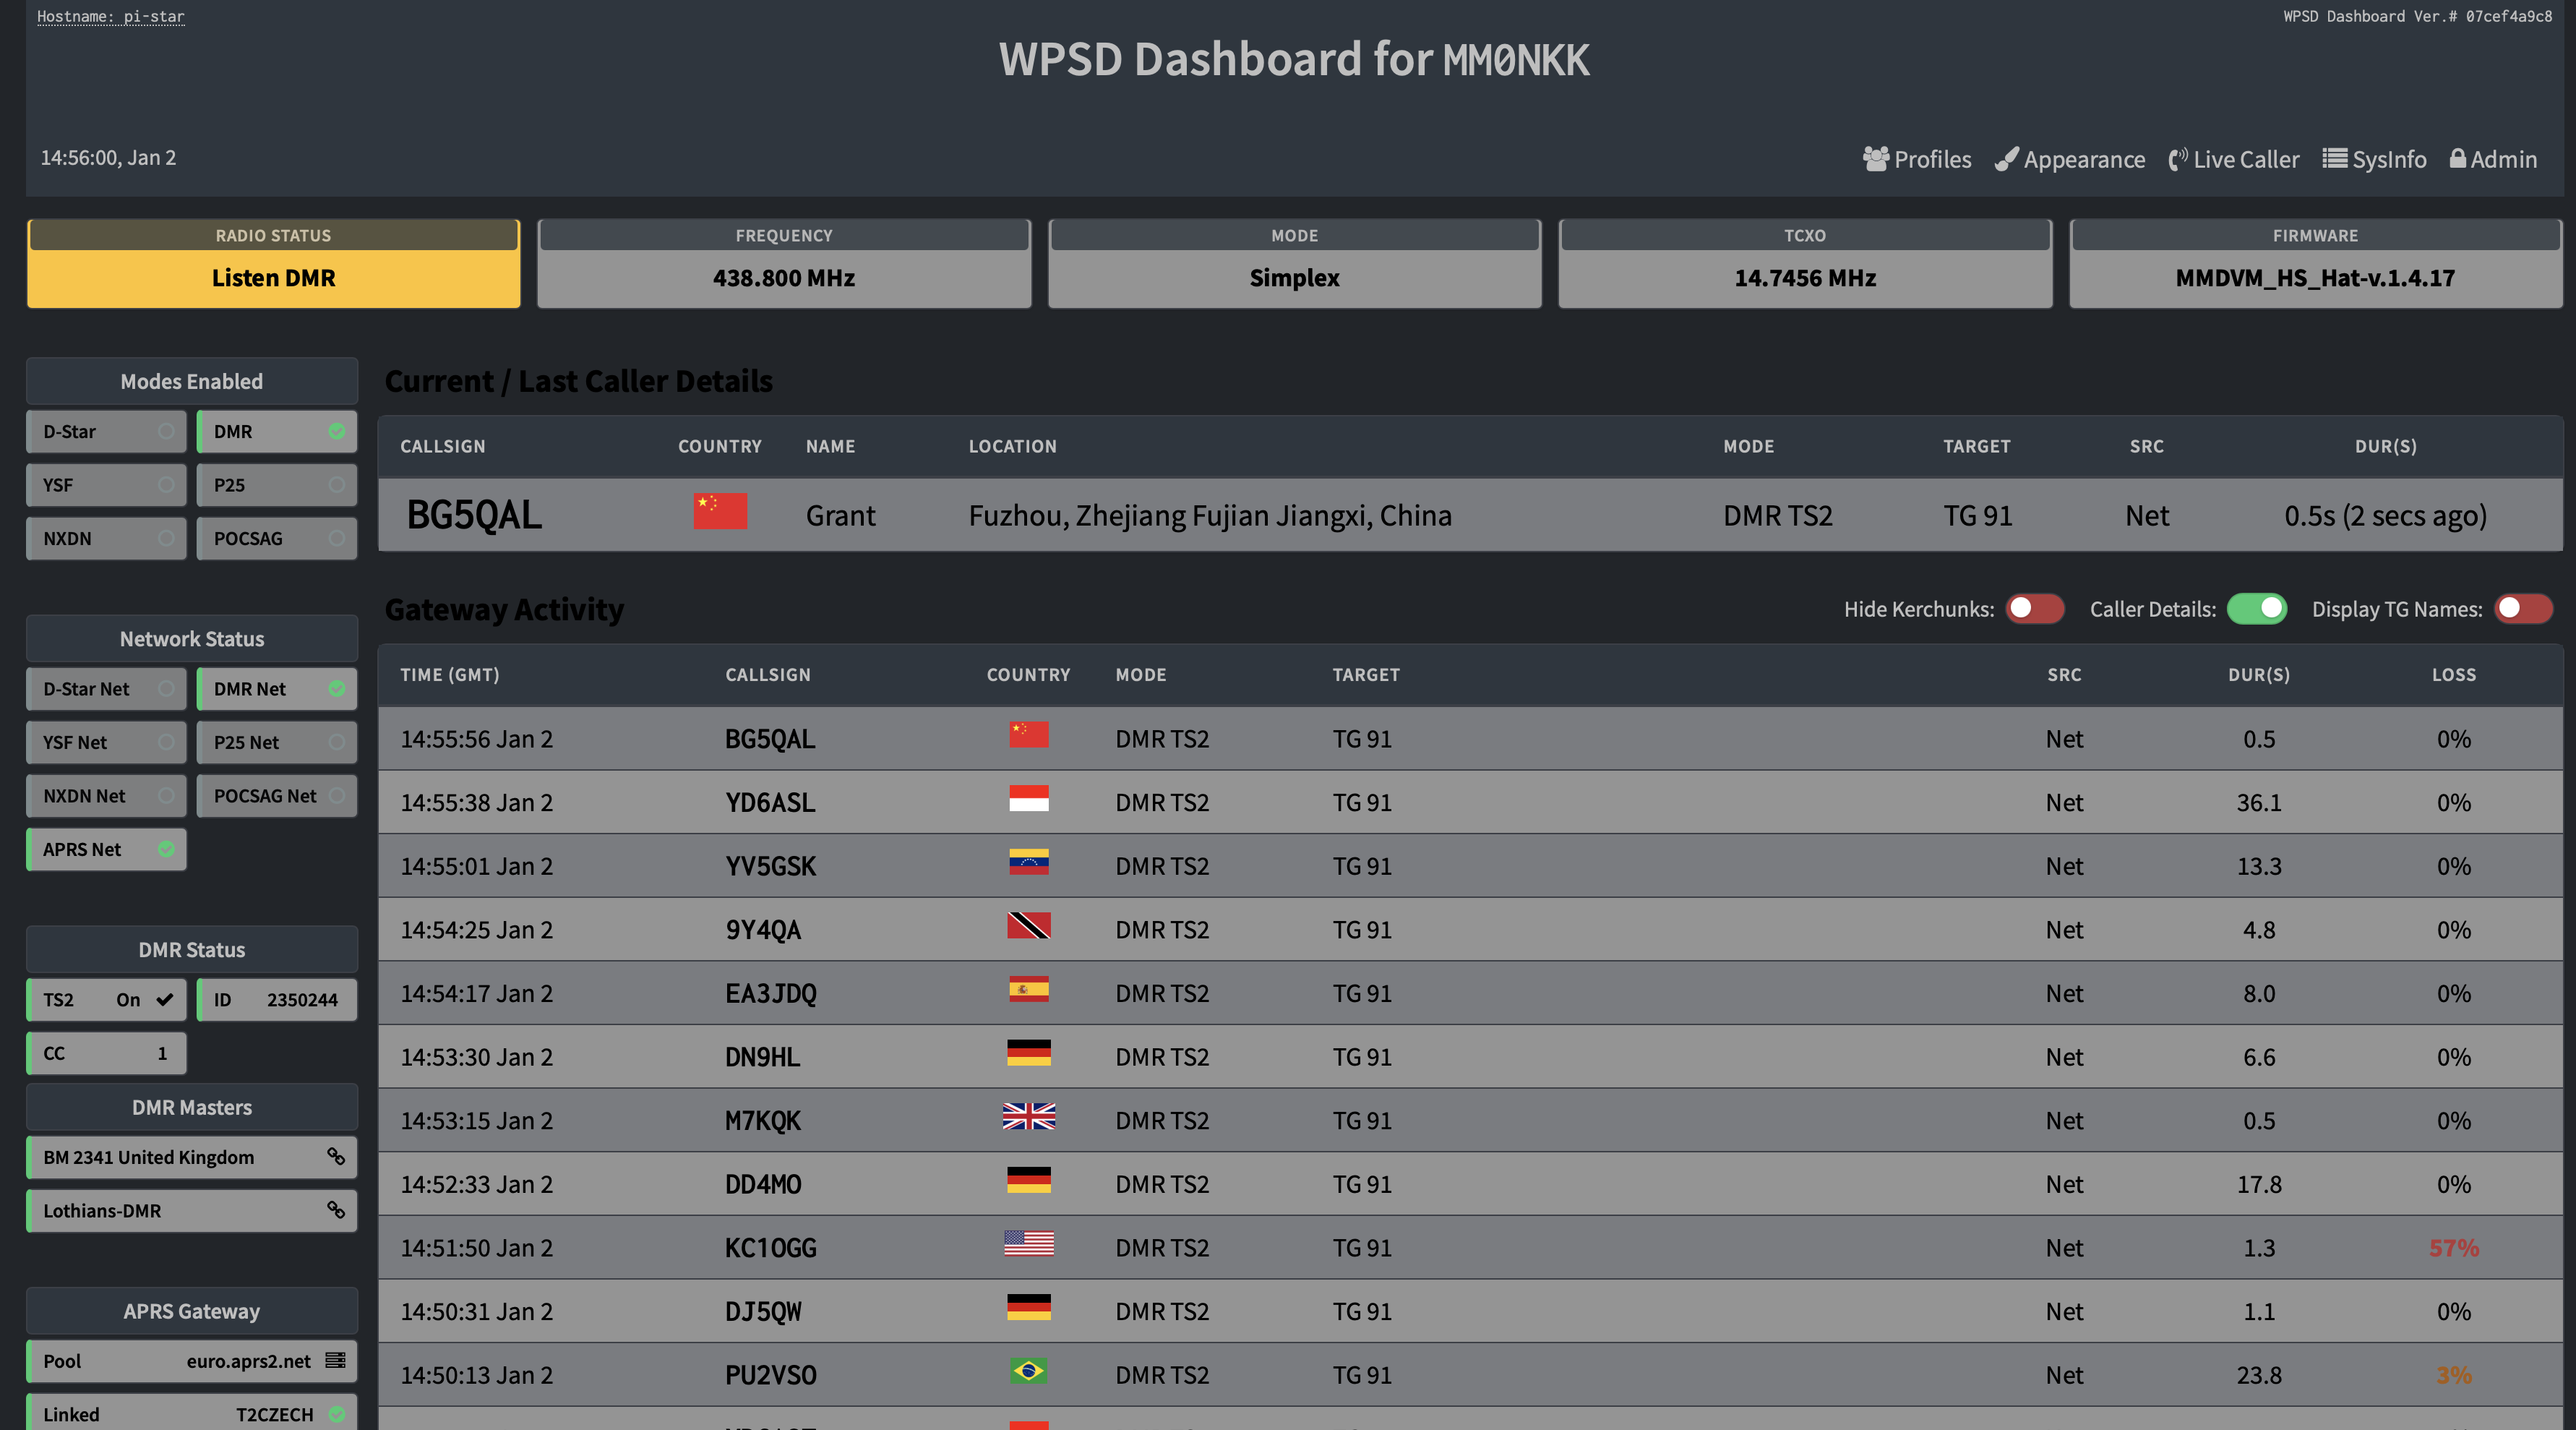
We can see the mode and network details on the left-hand side of the dashboard. If a mode is enabled but a specific configuration is invalid, you will see it here as inactive.
Configuration Changes
In addition to the main dashboard, we can see that we have the option of accessing the administrative dashboard, which looks like the following screenshot:
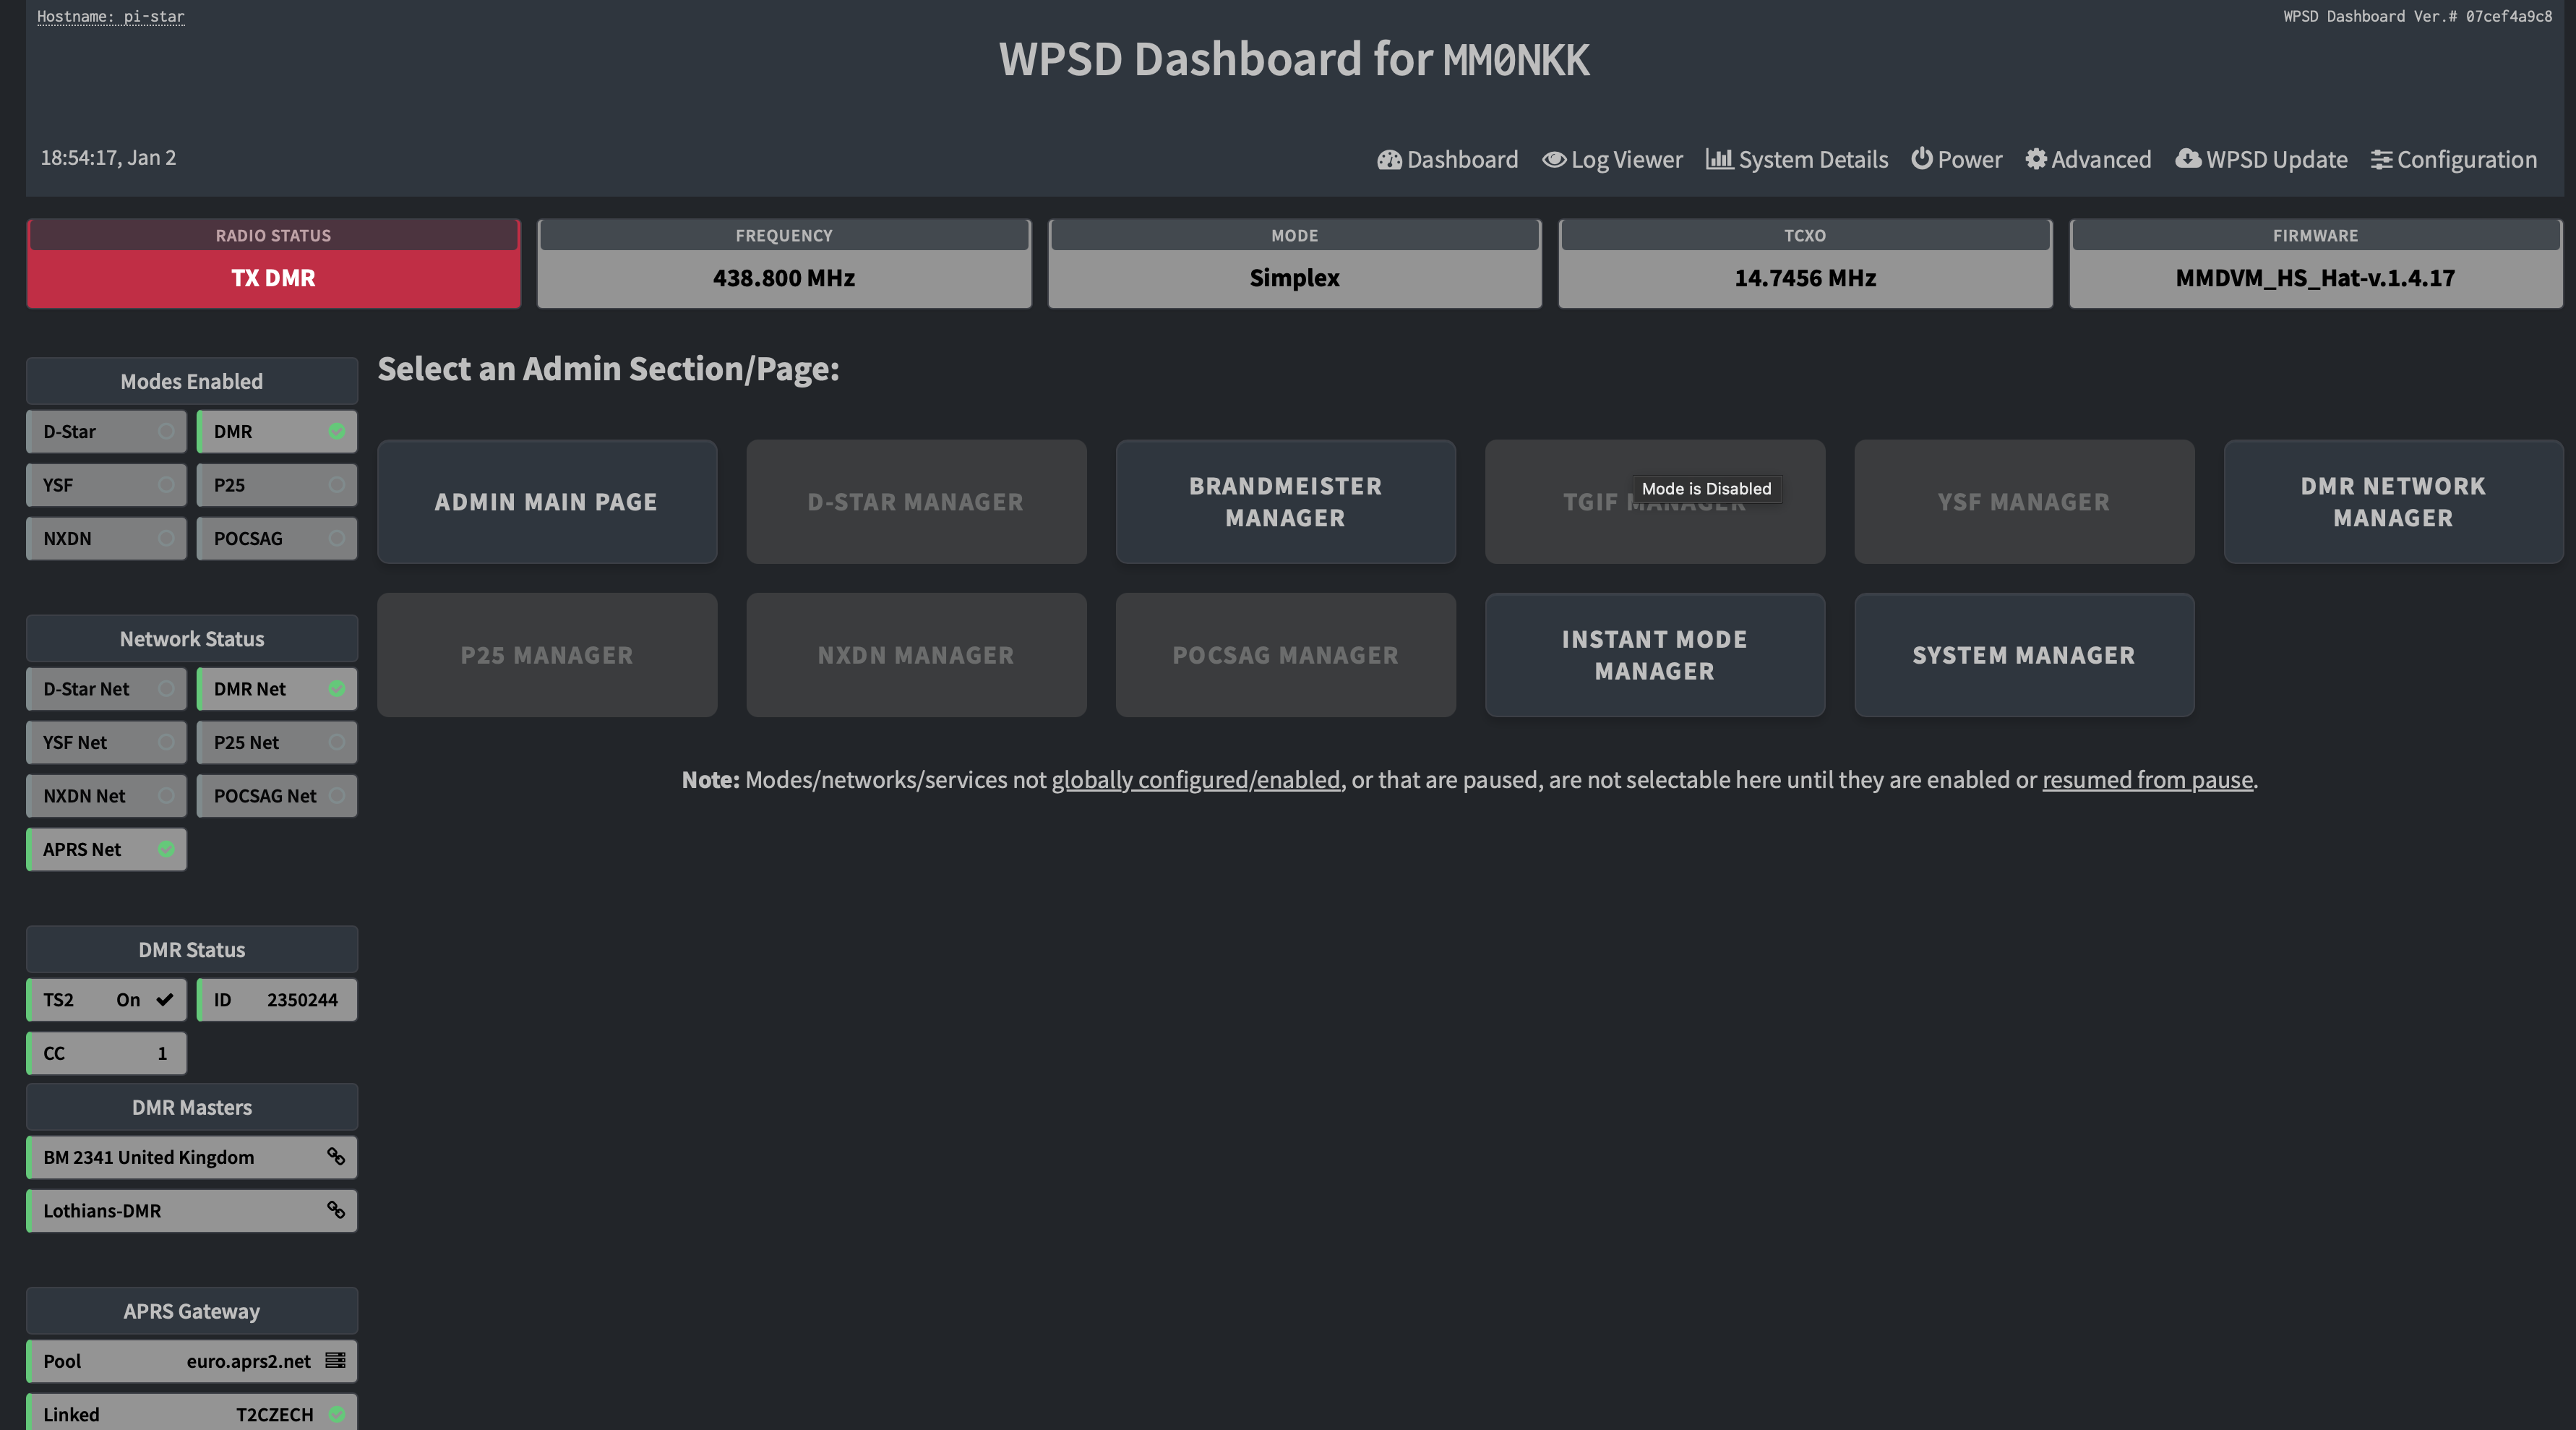
In this dashboard, we can see various editors and tools that can be used to configure different components of our hotspot. These editors are a bit restrictive and do not allow us to edit all sections of the configuration.
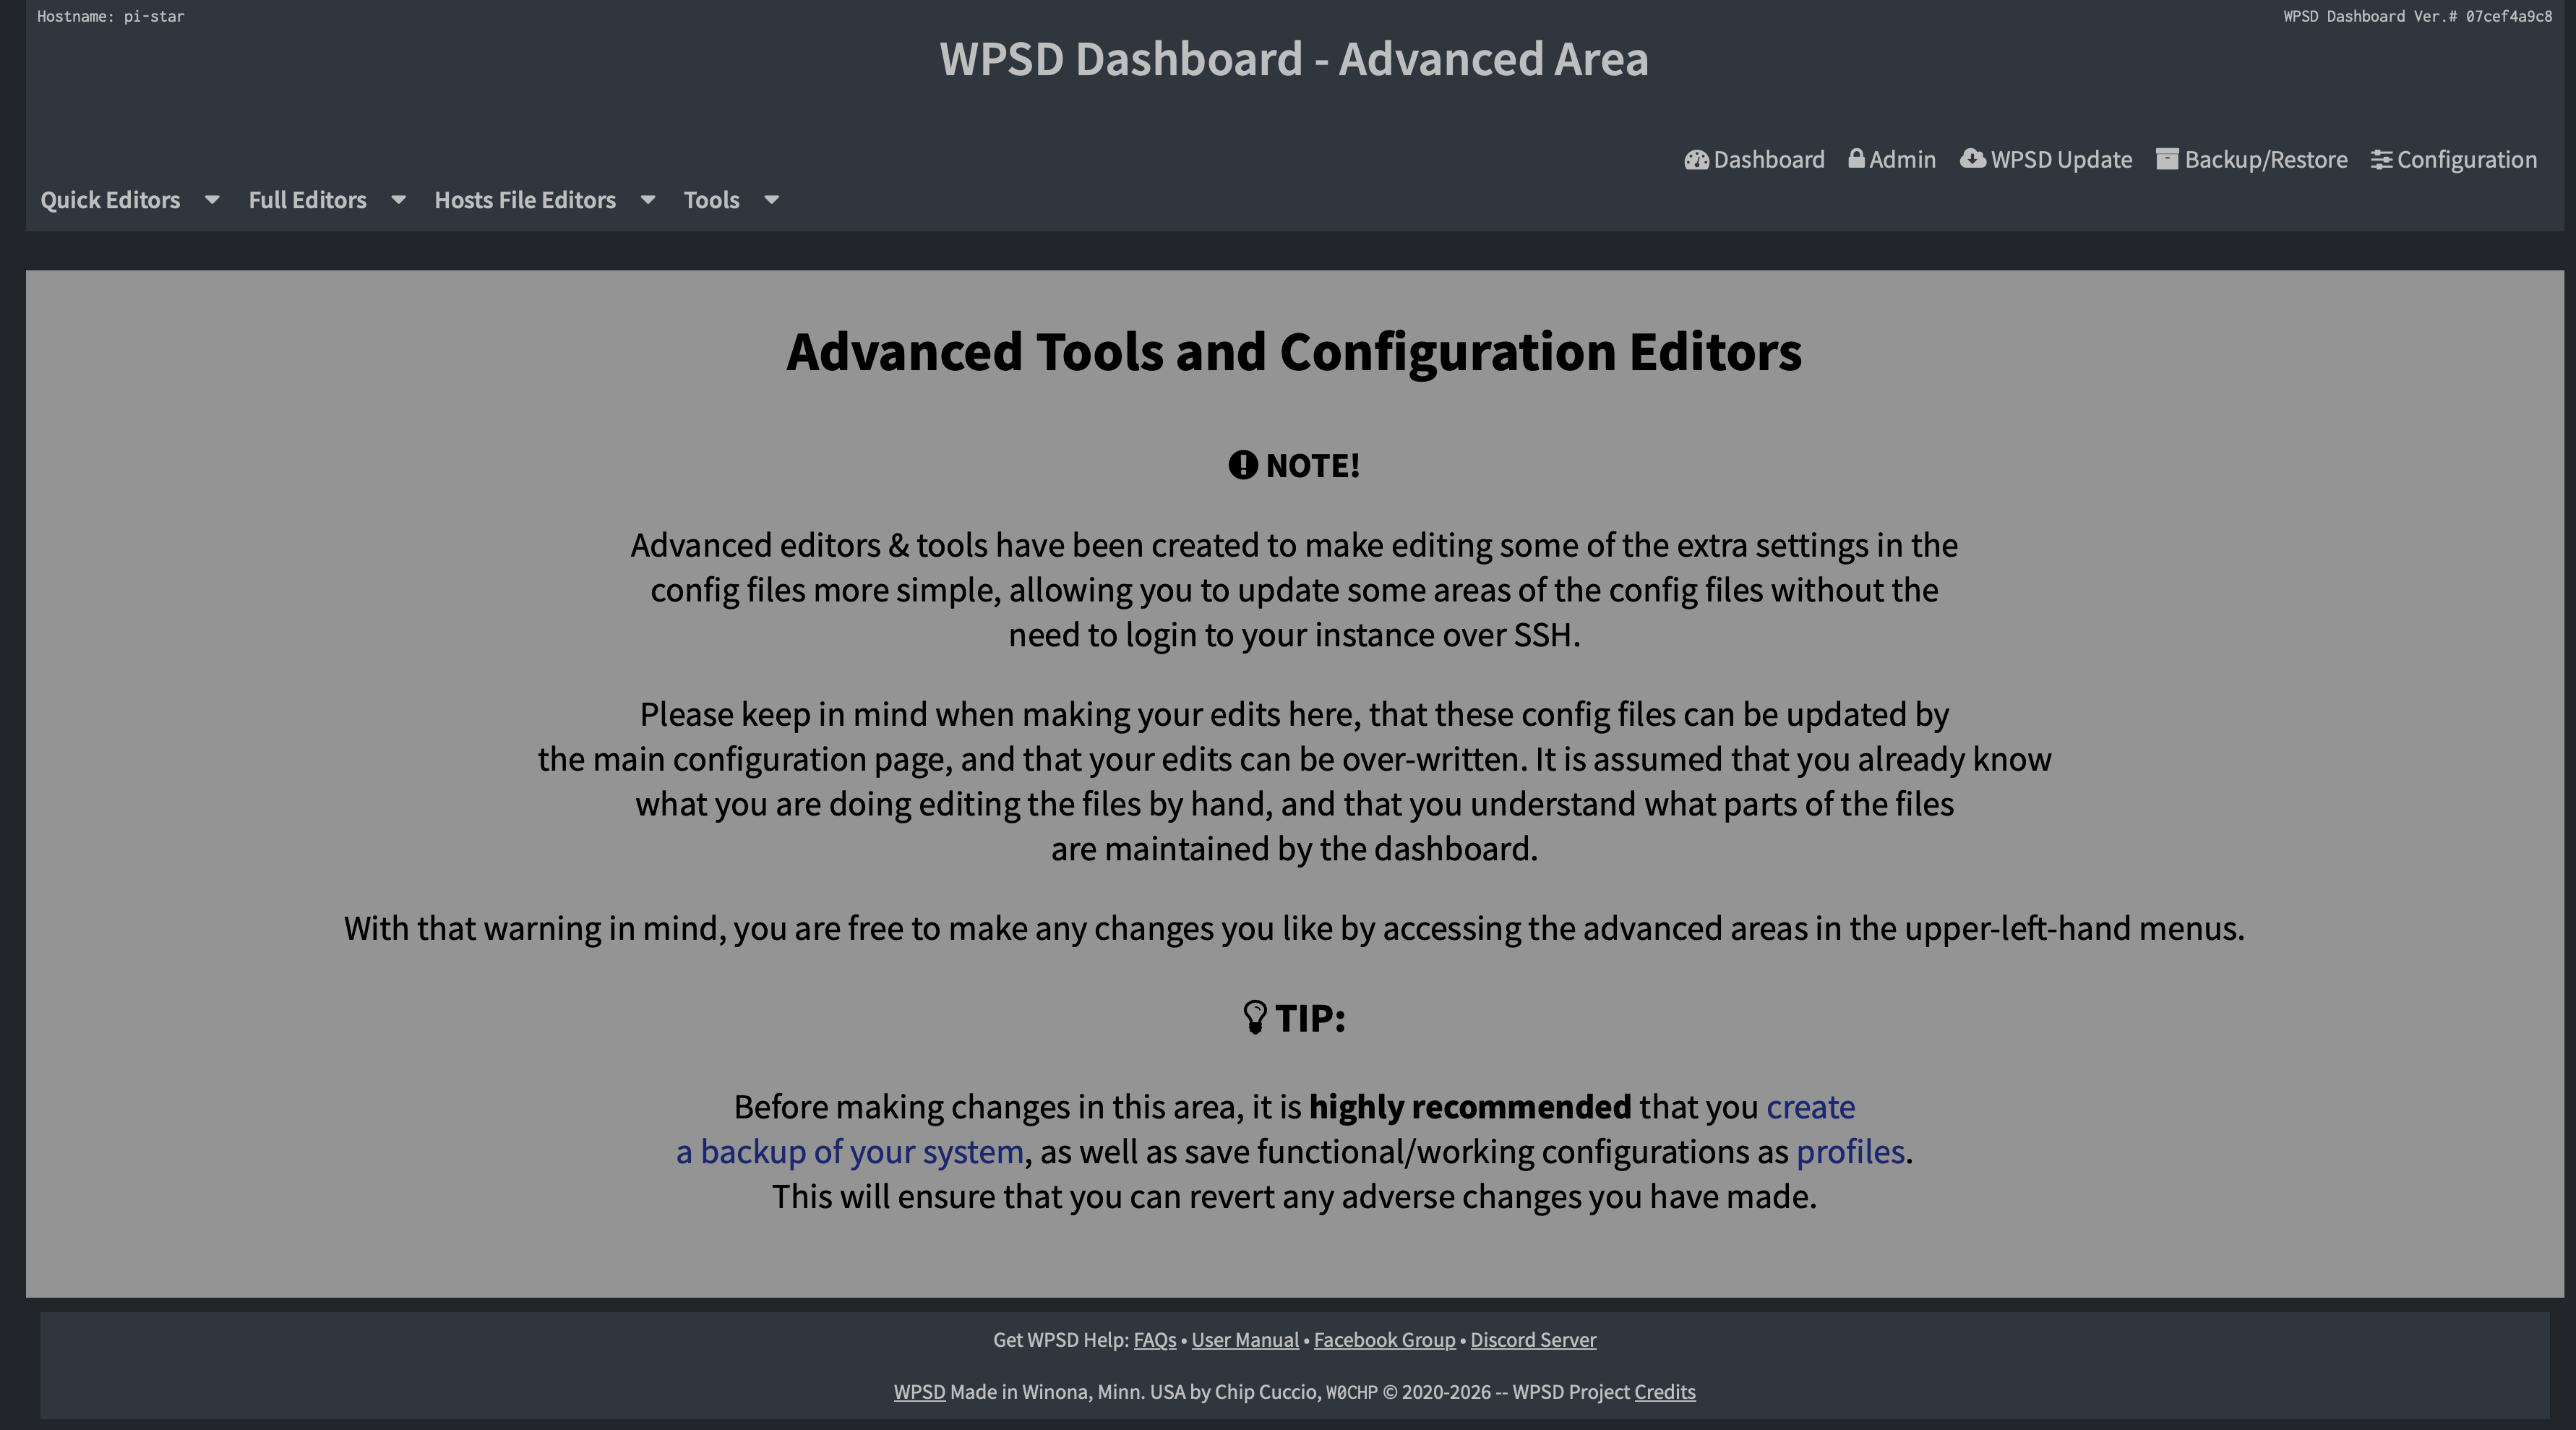
These restrictions are removed when we access the Full Editor under the advanced section, which allows us to edit everything but at the risk of breaking our hotspot.
This is why when we click on the Full Editor option, we get the following warning:
The Full Editor allows us to edit the configuration files in free-form text.
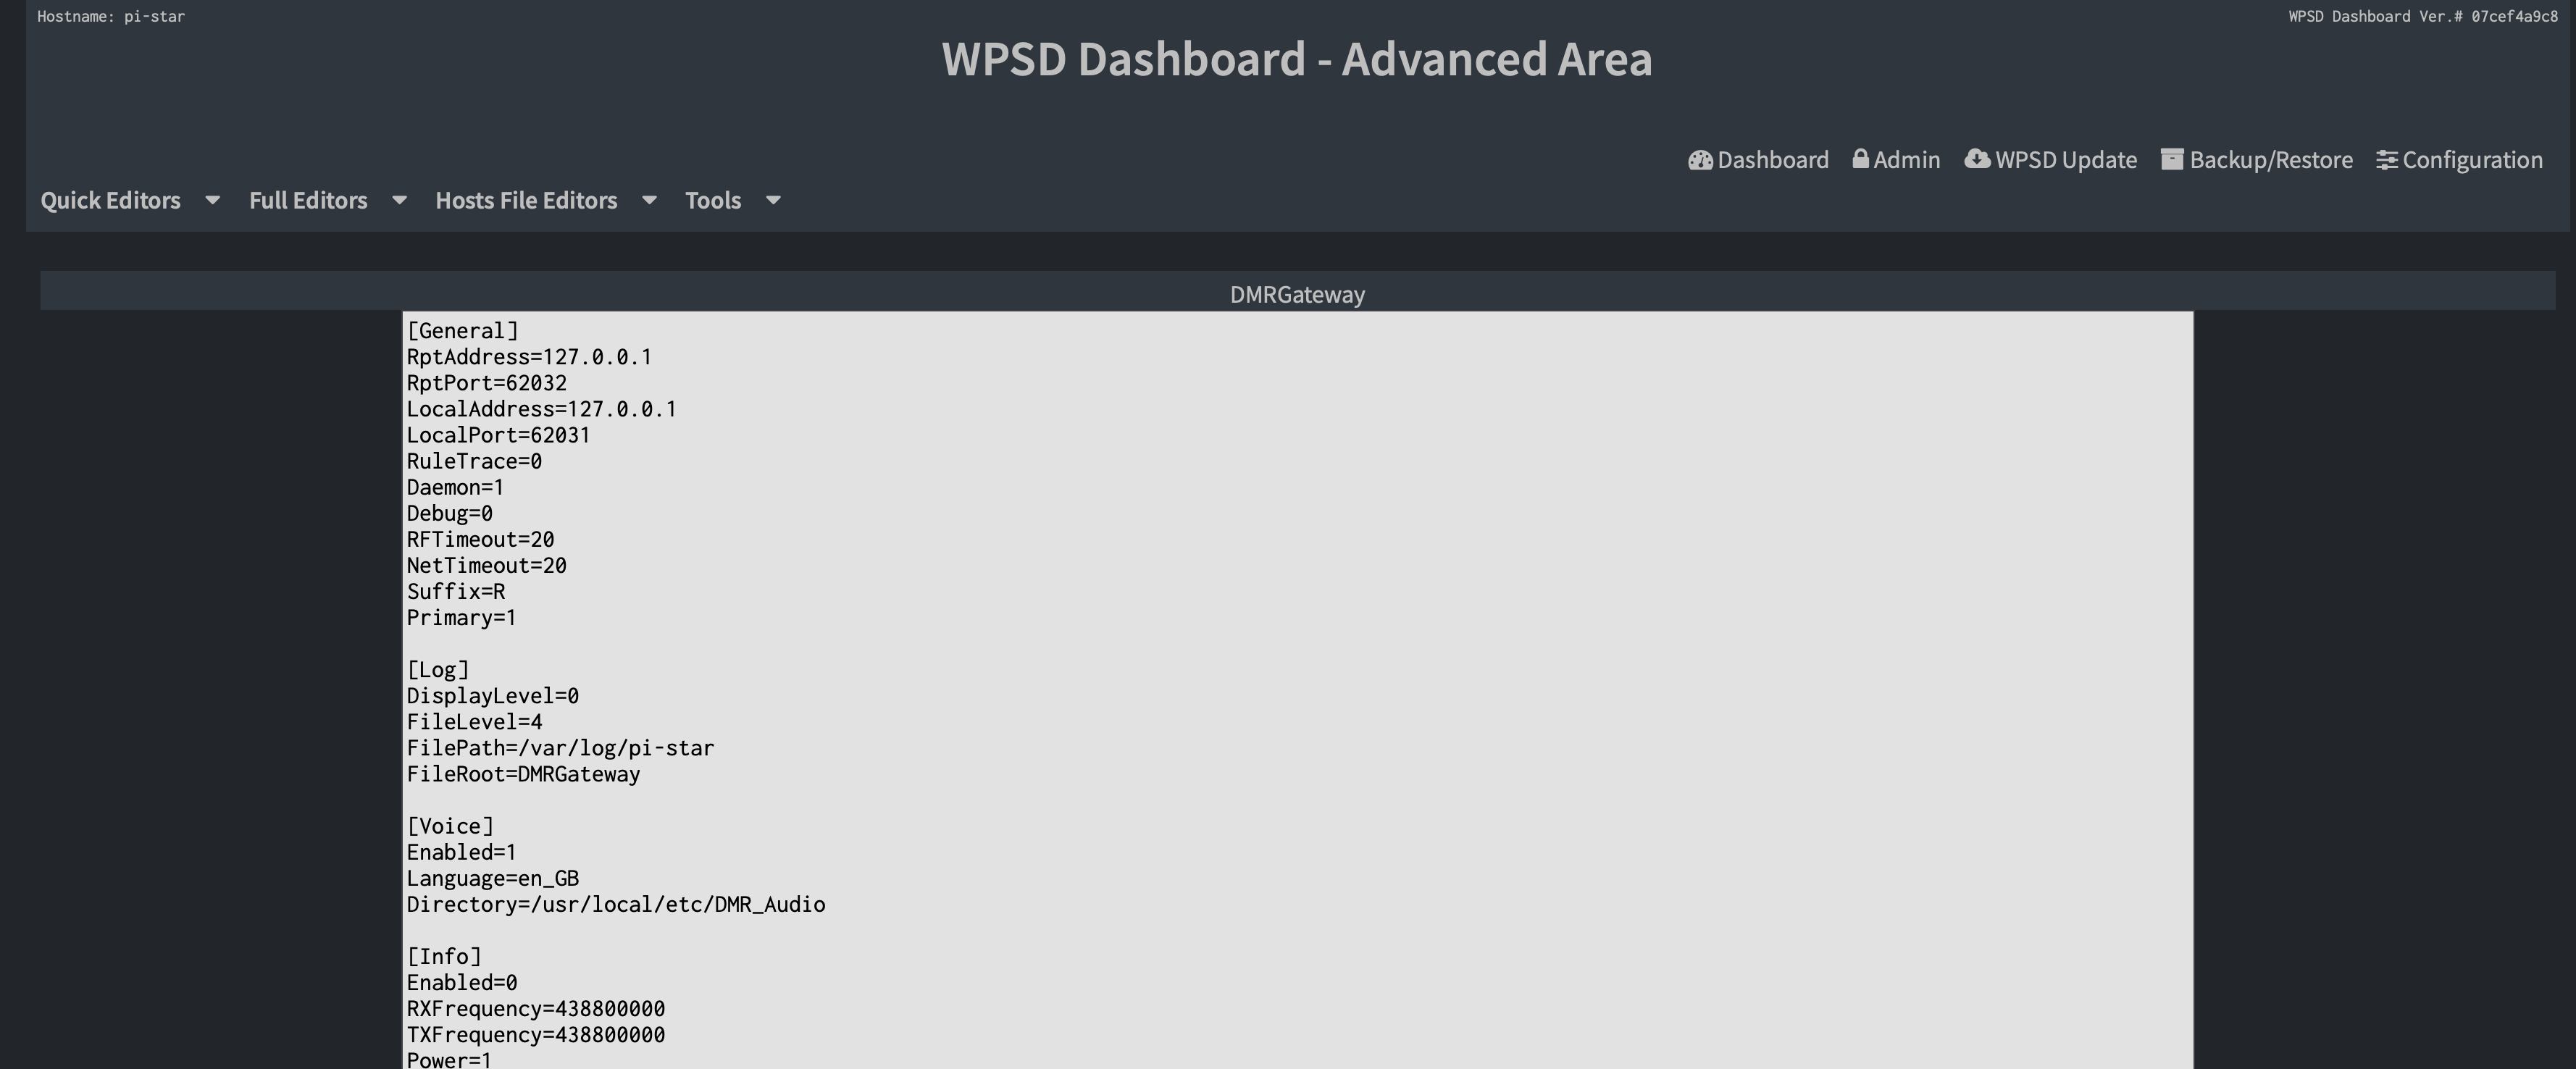
This gives us full power to add or remove sections. Please keep in mind that if you use the Full Editor, save your configuration, and then go back to use the form-based editor, your changes will be overwritten, and this will break your hotspot configuration.
If you use the Full Editor once, all future changes have to be done with the Full Editor.
Logging
When something goes wrong, our first step is to check the logs. WPSD allows us to view the service logs from its web interface.
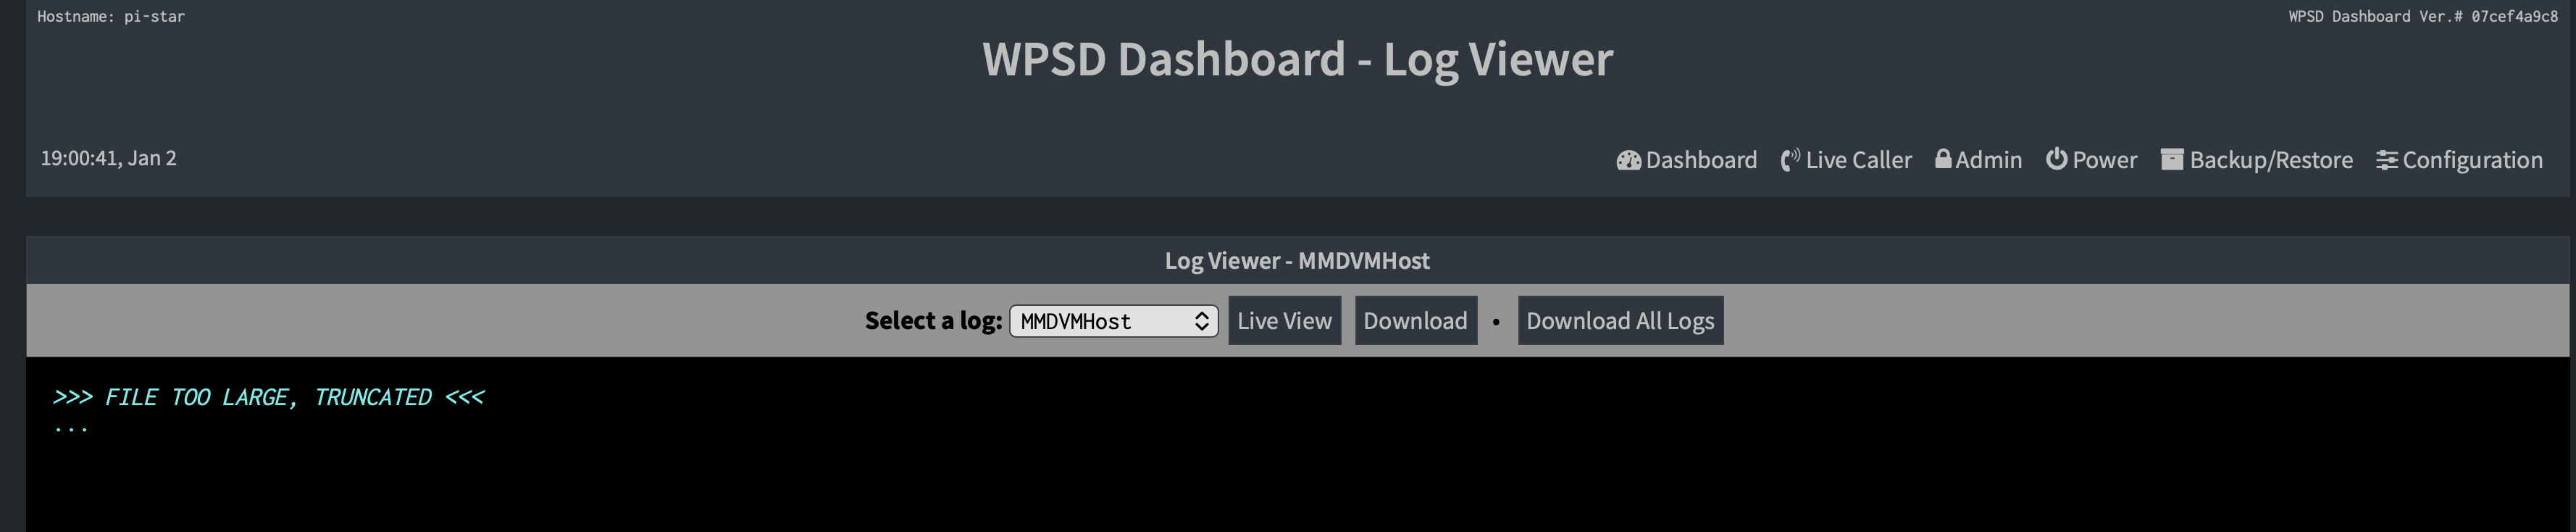
But if we try to access a log file that has too many entries, we get the message we see in the screenshot that the file is too large.
Of course, this is not really an issue because this is a Linux system. We usually don’t connect to its terminal, but it comes fully configured with SSH access.
There is a default user called pi-star with a default password of raspberry.
With these credentials, we can connect to the system:
> ssh [email protected]
[email protected] password:
X11 forwarding request failed on channel 0

This is...
 _      _____  _______
| | /| / / _ \/ __/ _ \
| |/ |/ / ___/\ \/ // /
|__/|__/_/  /___/____/

Version Status
---------------
  • WPSD Dashboard Web Software:
      Ver. # 07cef4a9c8
  • WPSD Support Utilites and Programs:
      Ver. # 45da274eae
  • WPSD Digital Voice and Related Binaries:
      Ver. # 20ab213163

[?] Your WPSD dashboard can be accesed from:
    • http://pi-star.local/
    • http://pi-star/
    • http://192.168.0.53/

[i] WPSD command-line tools are all prefixed with "wpsd-".
    Simply type wpsd- and then the TAB key twice to see a list.

WPSD Project: (C) Chip Cuccio, W0CHP -- Made in Winona, Minn. USA
[!] WPSD is Free Software, and comes with ABSOLUTELY NO WARRANTY.

Last login: Fri Jan  2 14:12:58 2026 from 192.168.0.72
pi-star@pi-star:~$
As the welcome message suggests, we can do a lot from the command line. There is a whole collection of WPSD commands that can be accessed by typing wpsd- and hitting Tab:
pi-star@pi-star:~$ wpsd-
wpsd-backup              wpsd-detectmodem         wpsd-gensslcert          wpsd-mode-manager        wpsd-modemreset          wpsd-p25link             wpsd-switch-profile      wpsd-update              wpsd-ysflink
wpsd-bmapi               wpsd-dmr_jittertest      wpsd-hostfile-update     wpsd-modemcalibrate      wpsd-modemupgrade        wpsd-sendcw              wpsd-system-manager      wpsd-version
wpsd-dapnetapi           wpsd-dstar-link          wpsd-mmdvmremote         wpsd-modem-flash_custom  wpsd-nxdnlink            wpsd-services            wpsd-tgifapi             wpsd-xlx_dmr_link
pi-star@pi-star:~$ wpsd-
But in this article, we are focusing on debugging our service, so we want to find the logs. The logs for the WPSD service can be found in /var/log/pi-star/, and in there we can see the following files:
i-star@pi-star:pi-star$ ls -l
total 2364
-rw-r--r-- 1 mmdvm mmdvm    1001 Jan  1 03:46 APRSGateway-2026-01-01.log
-rw-r--r-- 1 mmdvm mmdvm    1232 Jan  2 19:14 APRSGateway-2026-01-02.log
-rw-r--r-- 1 mmdvm mmdvm     615 Jan  3 02:00 APRSGateway-2026-01-03.log
-rw-r--r-- 1 mmdvm mmdvm       0 Jan  1 02:46 DMRGateway-2026-01-01.log
-rw-r--r-- 1 mmdvm mmdvm     102 Jan  2 22:35 DMRGateway-2026-01-02.log
-rw-r--r-- 1 mmdvm mmdvm       0 Jan  3 02:01 DMRGateway-2026-01-03.log
-rw-r--r-- 1 mmdvm mmdvm 1145712 Jan  1 23:59 MMDVM-2026-01-01.log
-rw-r--r-- 1 mmdvm mmdvm 1059026 Jan  2 23:59 MMDVM-2026-01-02.log
-rw-r--r-- 1 mmdvm mmdvm  195292 Jan  3 04:38 MMDVM-2026-01-03.log
pi-star@pi-star:pi-star$ tail DMRGateway-2026-01-02.log
W: 2026-01-02 22:35:41.190 BM_2341_United_Kingdom, Login to the master has failed, retrying login ...
pi-star@pi-star:pi-star$
As we can see, the log files are broken down according to the subsystem. We can review each one of these files for potential issues. In this particular case, we can see that there was a connection issue to the British BrandMeister Gateway. Eventually, it was able to reconnect, so the service recovered.
MMDVM files keep extensive logs of all the activity happening in the hotspot, including statistics for every connection.
Configuration Structure
Explaining the configuration of the WPSD service is beyond the scope of this article, but I would like to briefly explain the structure of the configuration file.
The configuration file is divided into sections. Each section sets up a different aspect of the service, and some are meant to be extended to include more networks or enable more modes.
We can see a snippet in the following example:
[General]
RptAddress=127.0.0.1
RptPort=62032
LocalAddress=127.0.0.1
LocalPort=62031
RuleTrace=0
Daemon=1
Debug=0
RFTimeout=20
NetTimeout=20
Suffix=R
Primary=1

[Log]
DisplayLevel=0
FileLevel=4
FilePath=/var/log/pi-star
FileRoot=DMRGateway

[Voice]
Enabled=1
Language=en_GB
Directory=/usr/local/etc/DMR_Audio
These sections are fairly static, and once you set them up, they won’t change. But when it comes to the DMR Gateway section, you can have several entries that look like the following:
[DMR Network 5]
Id=*****
Address=apollo.dmr.uk.pe
Password="*****"
Port=62031
Name=SystemX_Apollo
Enabled=0
TGRewrite0=2,4,2,9,1
PCRewrite0=2,44000,2,4000,1001
PCRewrite1=1,4009990,1,9990,1
PCRewrite2=2,4009990,2,9990,1
PCRewrite3=1,4000001,1,1,999999
PCRewrite4=2,4000001,2,1,999999
TypeRewrite1=1,4009990,1,9990
TypeRewrite2=2,4009990,2,9990
TGRewrite1=1,4000001,1,1,999999
TGRewrite2=2,4000001,2,1,999999
SrcRewrite1=1,9990,1,4009990,1
SrcRewrite2=2,9990,2,4009990,1
SrcRewrite3=1,1,1,4000001,999999
SrcRewrite4=2,1,2,4000001,999999
Location=0
Debug=0

[DMR Network 4]
Enabled=0
PCRewrite1=1,5009990,1,9990,1
PCRewrite2=2,5009990,2,9990,1
TypeRewrite1=1,5009990,1,9990
TypeRewrite2=2,5009990,2,9990
TGRewrite1=1,5000001,1,1,999999
TGRewrite2=2,5000001,2,1,999999
SrcRewrite1=1,9990,1,5009990,1
SrcRewrite2=2,9990,2,5009990,1
SrcRewrite3=1,1,1,5000001,999999
SrcRewrite4=2,1,2,5000001,999999
Location=0
These entries indicate where to connect, credentials/IDs if the network is enabled or not, and some rewriting rules that define how you can access each network.
In DMR, we have several talk groups under the same frequency, and a hotspot can subscribe to more than one at the same time. That allows you to listen to incoming traffic for one or more talk groups.
However, if you want to answer one of them, you need to be able to differentiate between two talk groups with the same ID number that belong to different networks.
That is where the rewriting rules come into play: by assigning a prefix to each network. So if Network 5 has the prefix 5 and Network 4 has the prefix 4, and you have a talk group with number 2021 in both, then you can access talk group 2021 in Network 4 by dialing 42021 and Network 5 by dialing 52021.
This is where a misconfiguration is most likely to happen, so by combining the logic explained here with any errors found in the logs, we can find the potential issue and fix our hotspot.